Color calibration is a core technology for LED displays, directly determining color accuracy, uniformity, and visual fidelity. Whether for commercial advertising, conference rooms, or stage performances, proper color calibration ensures your LED screen shows true-to-life colors and consistent brightness—eliminating issues like color distortion, uneven patches, or oversaturation. This guide breaks down how color calibration works and actionable steps to calibrate your LED display effectively.
1. What is LED Display Color Calibration?
LED display color calibration is the process of adjusting the brightness and chromaticity of each RGB pixel. It aligns the screen’s inherent color gamut with a target standard (such as sRGB) or custom requirements. The goal is to ensure consistent color performance across the entire screen, match the source image’s colors accurately, and resolve compatibility issues between different batches of display modules.
Unlike simple brightness adjustments, professional color calibration relies on optical measurement tools and algorithmic calculations. It targets the root cause of color inconsistencies—variations in LED chip performance, manufacturing tolerances, or differences in operating environments.
2. How Does Color Calibration Work?
The core principle of color calibration is color gamut space transformation, which adjusts the red, green, and blue (RGB) components of each pixel to achieve uniform color output. Here’s the technical breakdown:
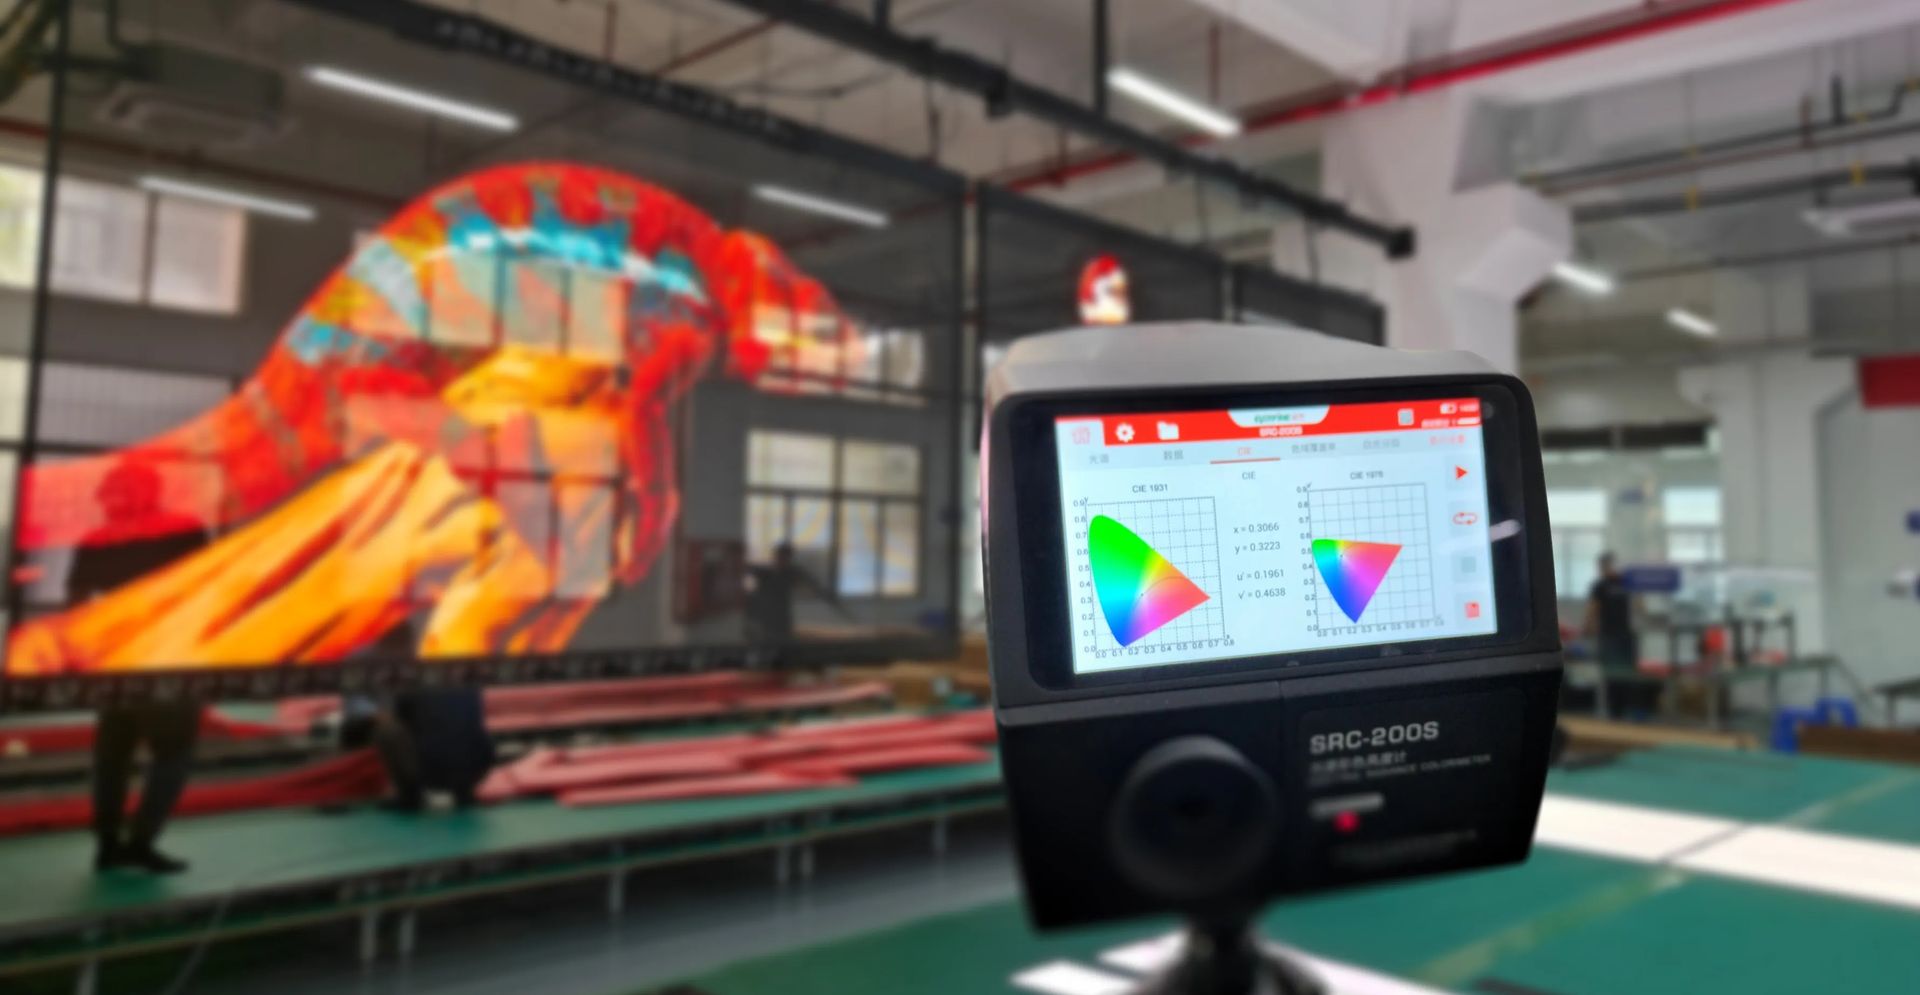
2.1 Data Collection with Professional Tools
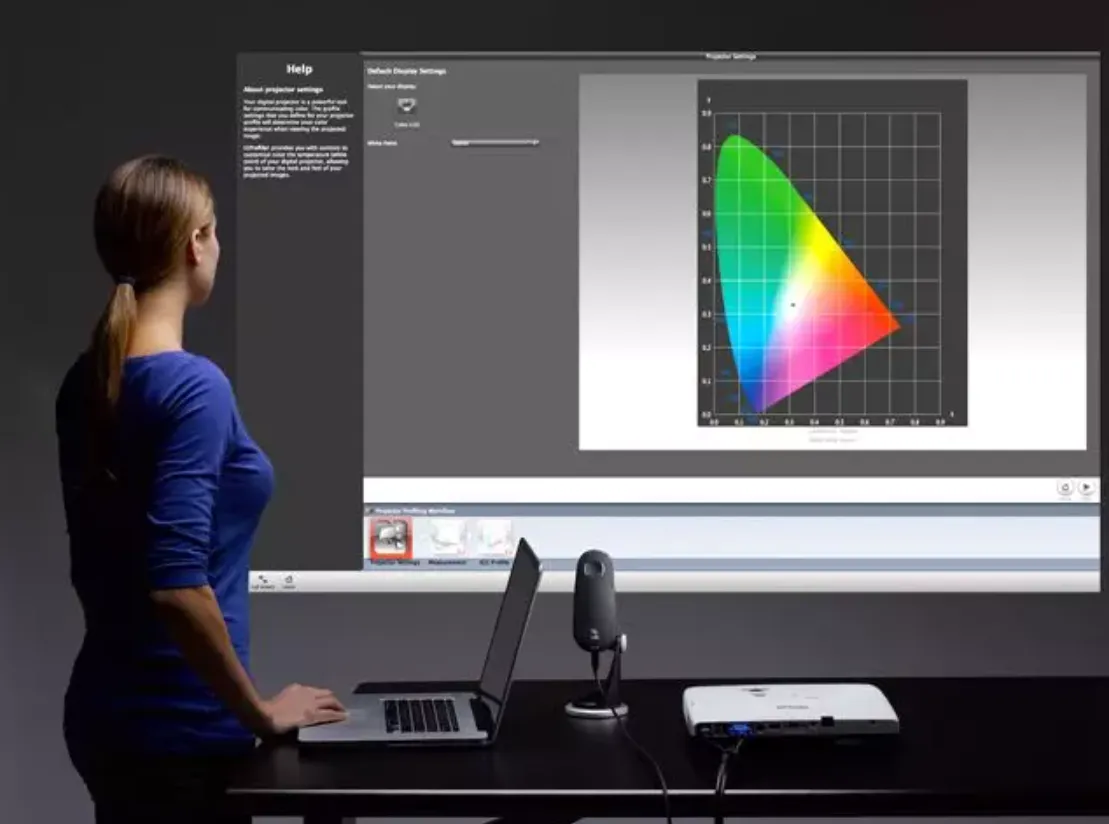
Calibration starts with measuring the display’s current color performance. Tools like spectrometers or industrial cameras capture key data for each pixel:
Tristimulus values (XYZ): Quantify the brightness and color properties of light using the CIE 1931 standard chromaticity system.
Color coordinates (x, y): Define the exact hue of RGB primary colors and white balance points on the chromaticity diagram.
Brightness levels: Record the luminous intensity of each pixel to ensure uniform brightness across the screen.
2.2 Algorithm-Based Calculation
Using the collected data, calibration software computes a 3x3 conversion coefficient matrix. This matrix determines how to adjust the RGB components of each pixel to map the screen’s original color gamut to the target gamut. For example, if the screen’s red is oversaturated, the algorithm reduces the red component’s pulse width (via PWM modulation) to match the target color.
2.3 Real-Time Signal Adjustment
The calibration parameters (conversion coefficients) are stored in the LED display’s control system. During operation, the system processes the input signal in real time—applying the parameters to each pixel to ensure consistent color and brightness output. Brightness and chromaticity adjustments are always synchronized to maintain image quality.
3. Why Do You Need to Calibrate Your LED Display?
Color calibration isn’t just a "nice-to-have"—it solves common performance issues and unlocks the screen’s full potential:
Improve color accuracy: Eliminates oversaturation or distortion by aligning the screen’s color gamut with the source (e.g., cameras, computers) or industry standards like sRGB.
Ensure uniformity: Fixes uneven brightness or color patches, especially critical for large video walls or mixed batches of modules.
Enable compatibility: Allows seamless integration of new and old display modules by standardizing their color performance.
Enhance visual experience: Makes text sharper, images more realistic, and videos more immersive—critical for high-end applications like retail displays or command centers.
4. Step-by-Step Guide to Calibrating Your LED Display
You can choose between professional calibration (for commercial use) or DIY methods (for basic needs). Here’s the step-by-step process:
4.1 Prepare Tools & Environment
Hardware: Spectrometer (for precise measurements) or color calibration tool, LED display control software (e.g., NovaStar, colorlight), and a stable power supply.
Environment: Turn off ambient light sources (avoid direct sunlight or strong lamps) and let the display warm up for 30 minutes to stabilize performance.
4.2 Measure Original Performance
Connect the calibration tool to the display and launch the control software.
Select "color calibration" mode and scan the entire screen to collect pixel-level data (tristimulus values, color coordinates, brightness).
The software will generate a report showing current inconsistencies (e.g., overbright areas, color shifts).
4.3 Set Target Standards
Choose a target color gamut (e.g., sRGB for office use, DCI-P3 for video) or input custom parameters (for brand-specific colors).
Set the target brightness (avoid over 500 nits for indoor use to prevent eye strain) and white balance (typically 6500K for neutral white).
4.4 Run Calibration & Verify
Start the calibration process—the software will apply the calculated conversion coefficients to each pixel automatically.
After calibration, re-scan the screen to verify: check if colors match the source image, brightness is uniform, and there are no visible patches.
Save the calibration parameters to the control card for persistent use.
4.5 Regular Maintenance
Recalibrate every 6–12 months (or sooner if the display is used for long hours) to account for LED chip aging.
Recalibrate immediately if you replace modules, move the display, or notice color inconsistencies.
5. Common Color Calibration Mistakes to Avoid
Skipping warm-up: Calibrating a cold display leads to inaccurate data—always let it run for 30 minutes first.
Ignoring ambient light: Strong light interferes with measurements—calibrate in a dark or dimly lit room.
Using low-quality tools: Cheap calibration devices can’t capture precise pixel data—invest in a professional spectrometer for commercial displays.
Overlooking module compatibility: When mixing new and old modules, calibrate them as a single unit to ensure uniformity.
6. Conclusion: Calibration = Better LED Display Performance
Color calibration transforms an average LED display into a high-performance tool by resolving color inconsistencies and aligning output with standards. Whether you’re a business owner, installer, or end user, understanding how calibration works and following the steps above will ensure your screen delivers crisp, true-to-life visuals.
For commercial applications (e.g., retail, events), professional calibration is recommended to meet industry standards. For basic needs, DIY tools can still significantly improve performance. The key is to calibrate regularly and adjust parameters based on your use case.